How to Create an Accent Wall with Stencils
In six simple steps, you can design your own chic accent wall.
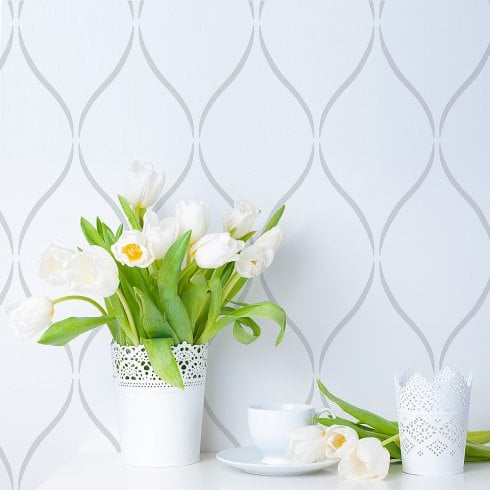
Accent walls are popular home design choices for many reasons—they can spice up a bland room, they can add character, and they can establish a strong but stylish focal point in a space lacking flow. The hardest part about deciding to do an accent wall is probably choosing the design! You can go with a simple, solid color, or you can paint an interesting geometric design that pops against a solid. Geometric and graphic designs are trending lately in the interior design space, so something of that nature would be a crisp update for a lackluster room.
When deciding on the colors and design, remember to envision the base color and the design color and how they will work (or not work together). Colors that don't contrast enough will come out looking blurred and not at all the statement you were hoping for. Since we are teaching you how to DIY an accent wall with stencil designs, it's worth noting that stencil paint designs tend to stand out better against a cool-toned base color. Especially if your statement wall's base color will be bright, consider making the stencil design a warmer hue to ensure it pops.

How to Create a DIY Accent Wall with Stencils
Materials needed:
- 1 gallon of base paint
- 1 gallon of stencil design paint
- Stencil of your choosing
- Spray adhesive
- Paint roller
- Measuring tape
- Painter's tape
- Pencil
Step 1: Paint the base color
Once you've chosen the wall, the first thing to do is to paint the base color. Pretty simple, right? Just remember to allow enough time for the base coat to dry before you start adding anything else to the mix. It should take about three hours to dry thoroughly, but check the instructions on the can just to be sure.
Step 2: Mark the wall's center
Here's where your pencil comes in handy. Use a long tape measure to find the exact center of the wall you'll be working on—that's where you'll be starting the stencil. Because geometric stencils are repeating patterns, it's important you find an even starting point so it comes out correctly.
Step 3: Spray the stencil with adhesive
Use your spray adhesive to coat the back of the stencil to help ensure it doesn't move while you're painting. You may have to reapply the adhesive every few times you place the stencil against the wall.
Step 4: Tape the stencil to the center of the wall
Find the center you marked and follow it to the trim line. Make sure the stencil is flush against the trim (or where the wall meets the ceiling), and secure it in place with painter's tape.
Step 5: Paint over the stencil
It's time to make the magic happen! Grab your paint roller and begin to apply a thin layer of stencil paint over the stencil evenly. If the layer of paint is too think, it'll create inconsistencies with varying degrees of raised lines on the design as you move across the wall. Additionally, if the roller is longer than the stencil, you may get paint lines on the edges, so keep that in mind when using the supplies.
Step 6: Repeat
Repeat steps three through five as you move across the wall. Make sure the previous paint on the stencil is dry before creating a new design. You don't want to be constantly handling wet paint—it could lead to some messy mistakes. Otherwise, line up the stencil directly next to or below your completed design, being sure to match it up as evenly as possible. You can also measure out horizontal line suggestions in the beginning steps to keep yourself on track later in the process.
That's it! Sit back and marvel at your DIY accent design as the paint dries.